You can’t really celebrate Halloween without eating pumpkins! After taking the easy way out and feeding my kids pumpkin pies from Costco for a month, we all started to feel all “pied out”! As a surprise, I decided to make a really cute kabocha pumpkin cake to surprise the kids Friday after school.
After finding the perfect baking pan to make the cutest pumpkin cake, I decided to go for a Kabocha (Japanese pumpkin) rather than an American pumpkin. Since the Kabocha pumpkin is sweeter, I could cut down on the amount of sugar needed to make the cake. Plus, Kabocha has higher fiber content and pectin to aid digestion and maintain steady sugar levels.
It also has more protein and carbohydrates for building muscle and energy sources. Packed with vitamins and minerals, particularly Vitamin A which supports vision and immune function and Vitamin C, with its antioxidant effects that boost healthier skin and help fight off infections.
Overall, this was an easy cake that even a beginner can master. After the kids came home, they became so excited because they could smell something sweet. My daughter’s eyes lit up and gasped, “Mommy, this is so pretty!” As soon as they took their first bite, I knew I had nailed it! We devoured the entire cake in less than five minutes, and the kids asked, “Is there more?” I guess this means I will have to make a better cake to top this one soon!
I hope everyone will enjoy this cake as much as we did and end up asking for more!
HAPPY HALLOWEEN!

Kabocha Pumpkin Cake: A Delightful Japanese Twist on Fall Baking
Description
This moist and flavorful Kabocha Pumpkin Cake combines the natural sweetness of Japanese pumpkin with warm fall spices. A healthier dessert option packed with fiber, vitamins, and antioxidants.
Ingredients
Instructions
-
Gather Your Ingredients:
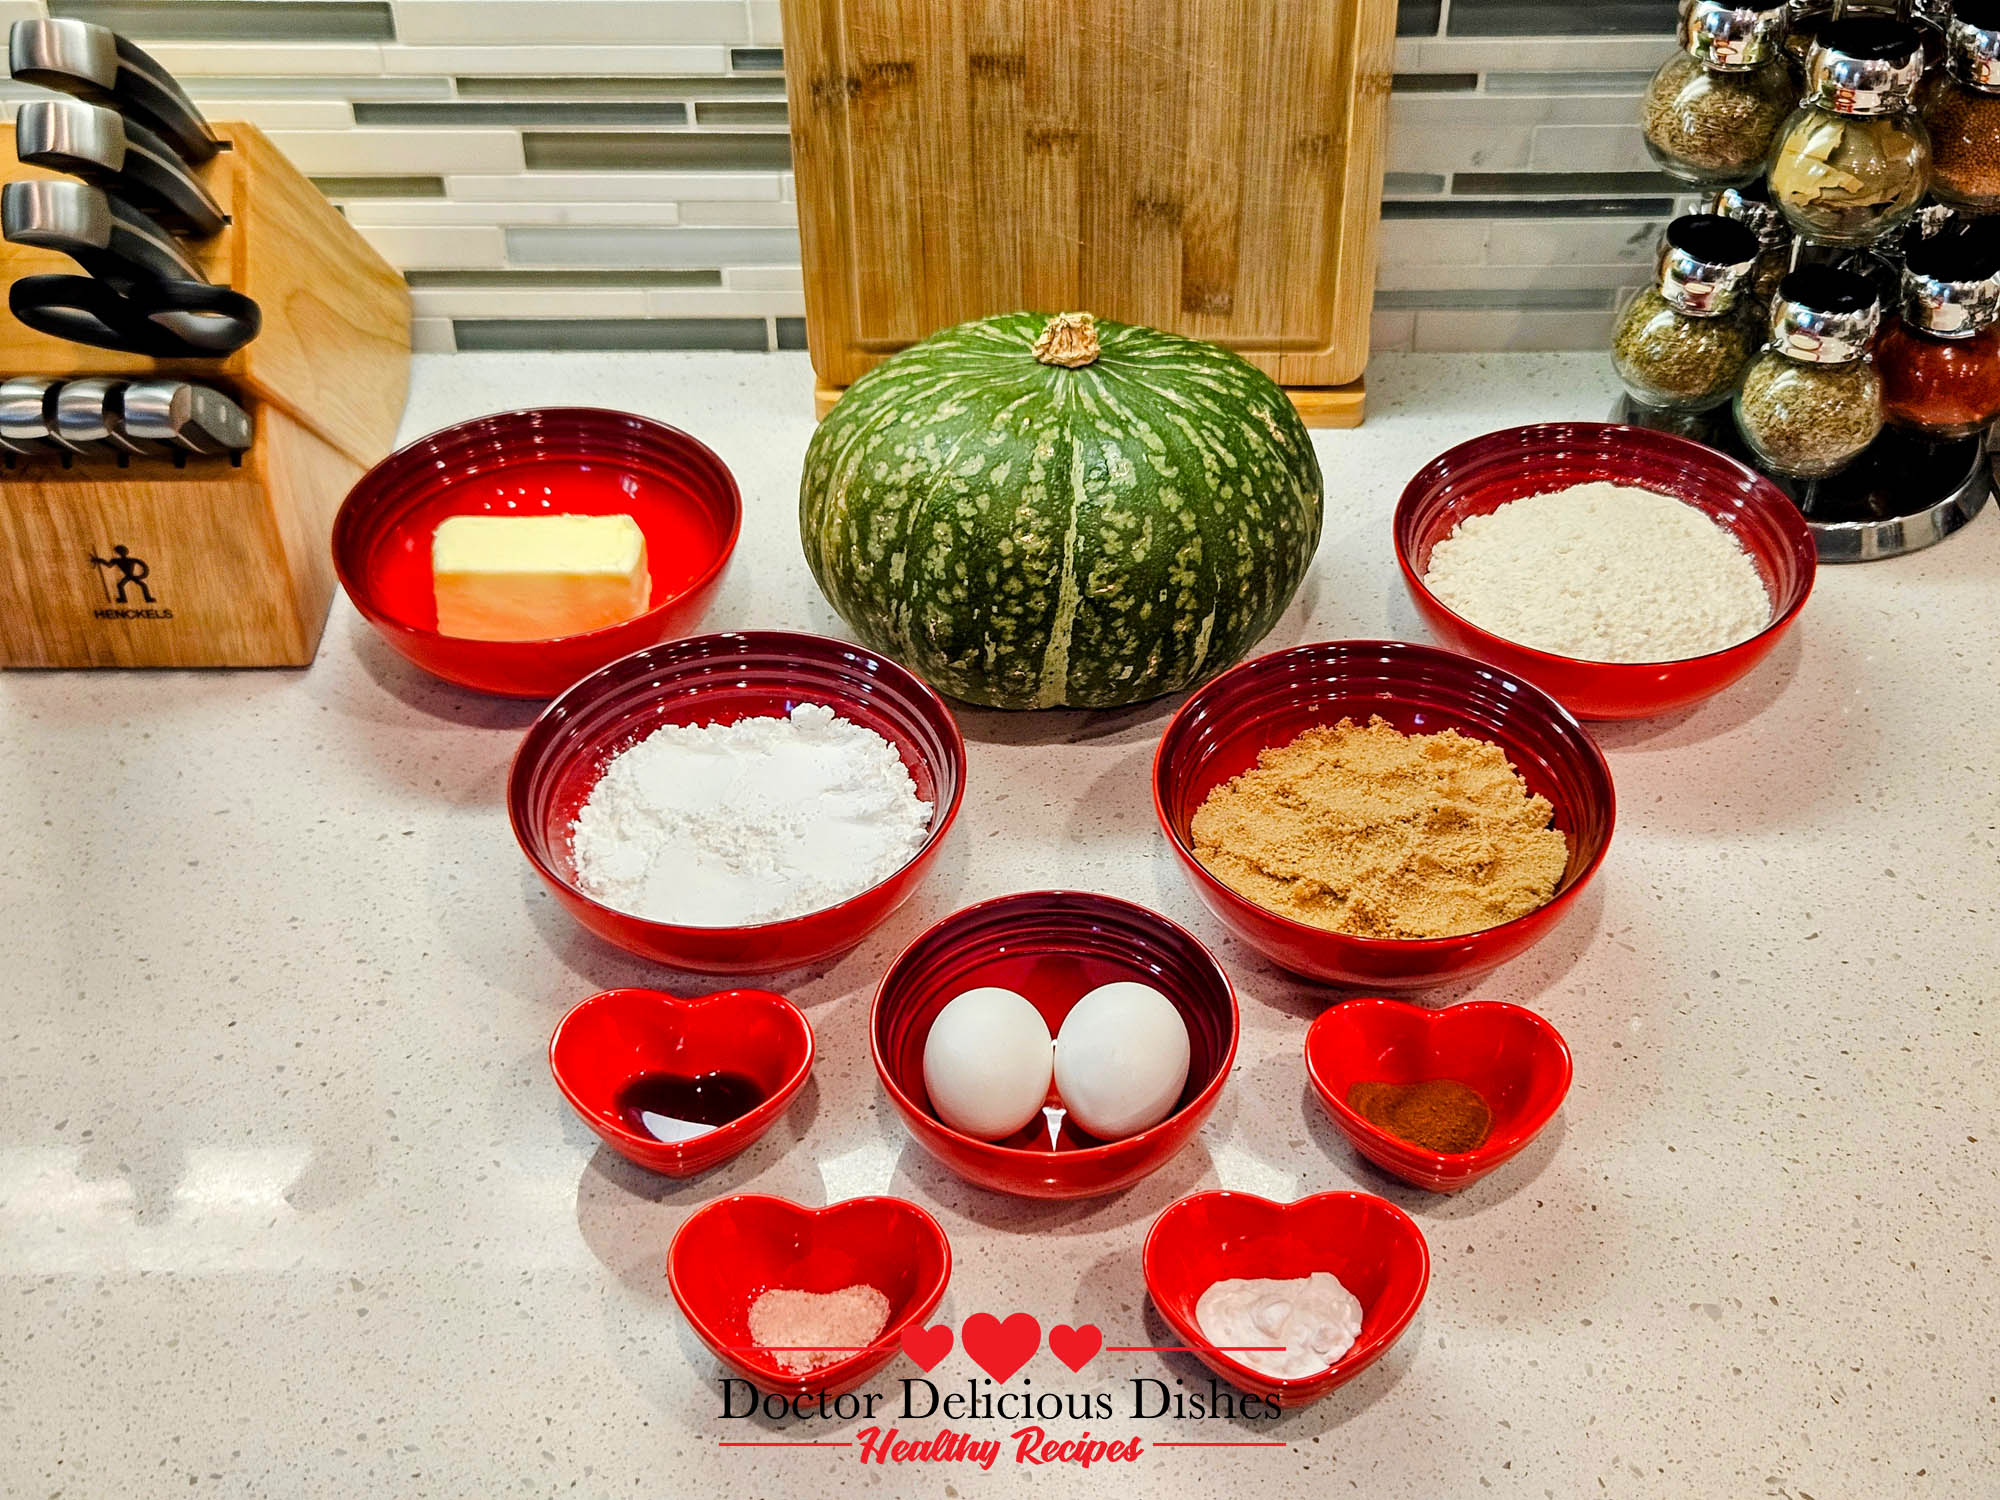
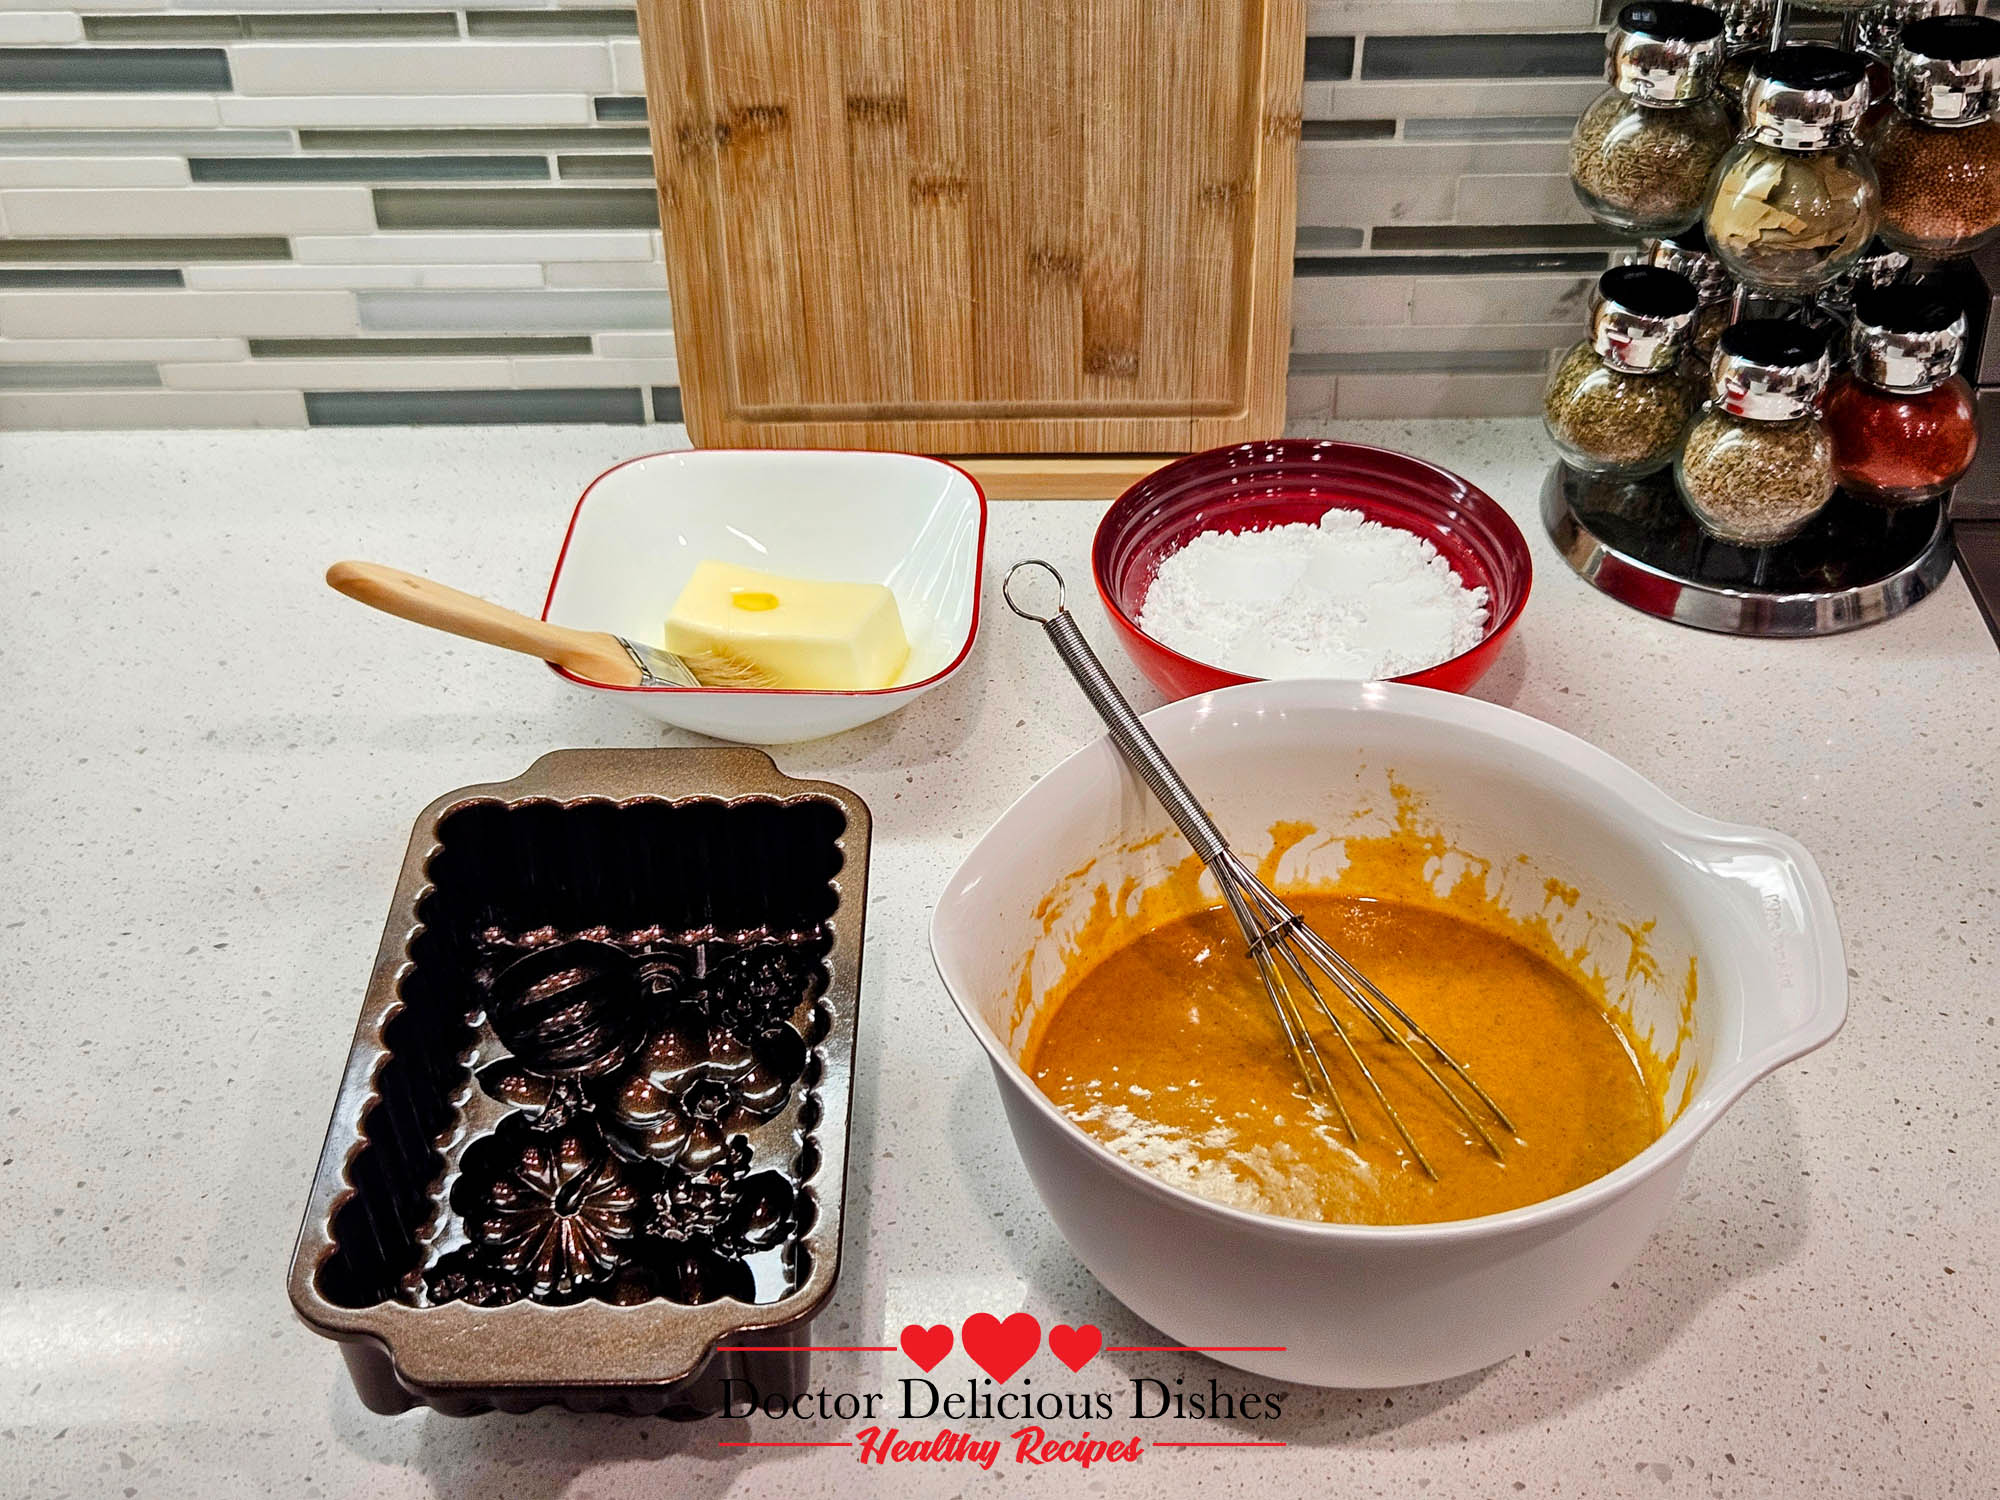
Start by gathering all the ingredients for your Kabocha Pumpkin Cake. Having everything prepped and ready will make the baking process smooth and enjoyable, ensuring that you don't miss a step along the way. -
Preheat the Oven:
Preheat your oven to 350°F (175°C) for a standard oven or 325°F (160°C) if you're using a convection oven. This will ensure your Kabocha Pumpkin Cake bakes evenly and develops a beautiful texture. While the oven is heating, you can move on to combining the wet and dry ingredients. -
Prepare the Kabocha Pumpkin:
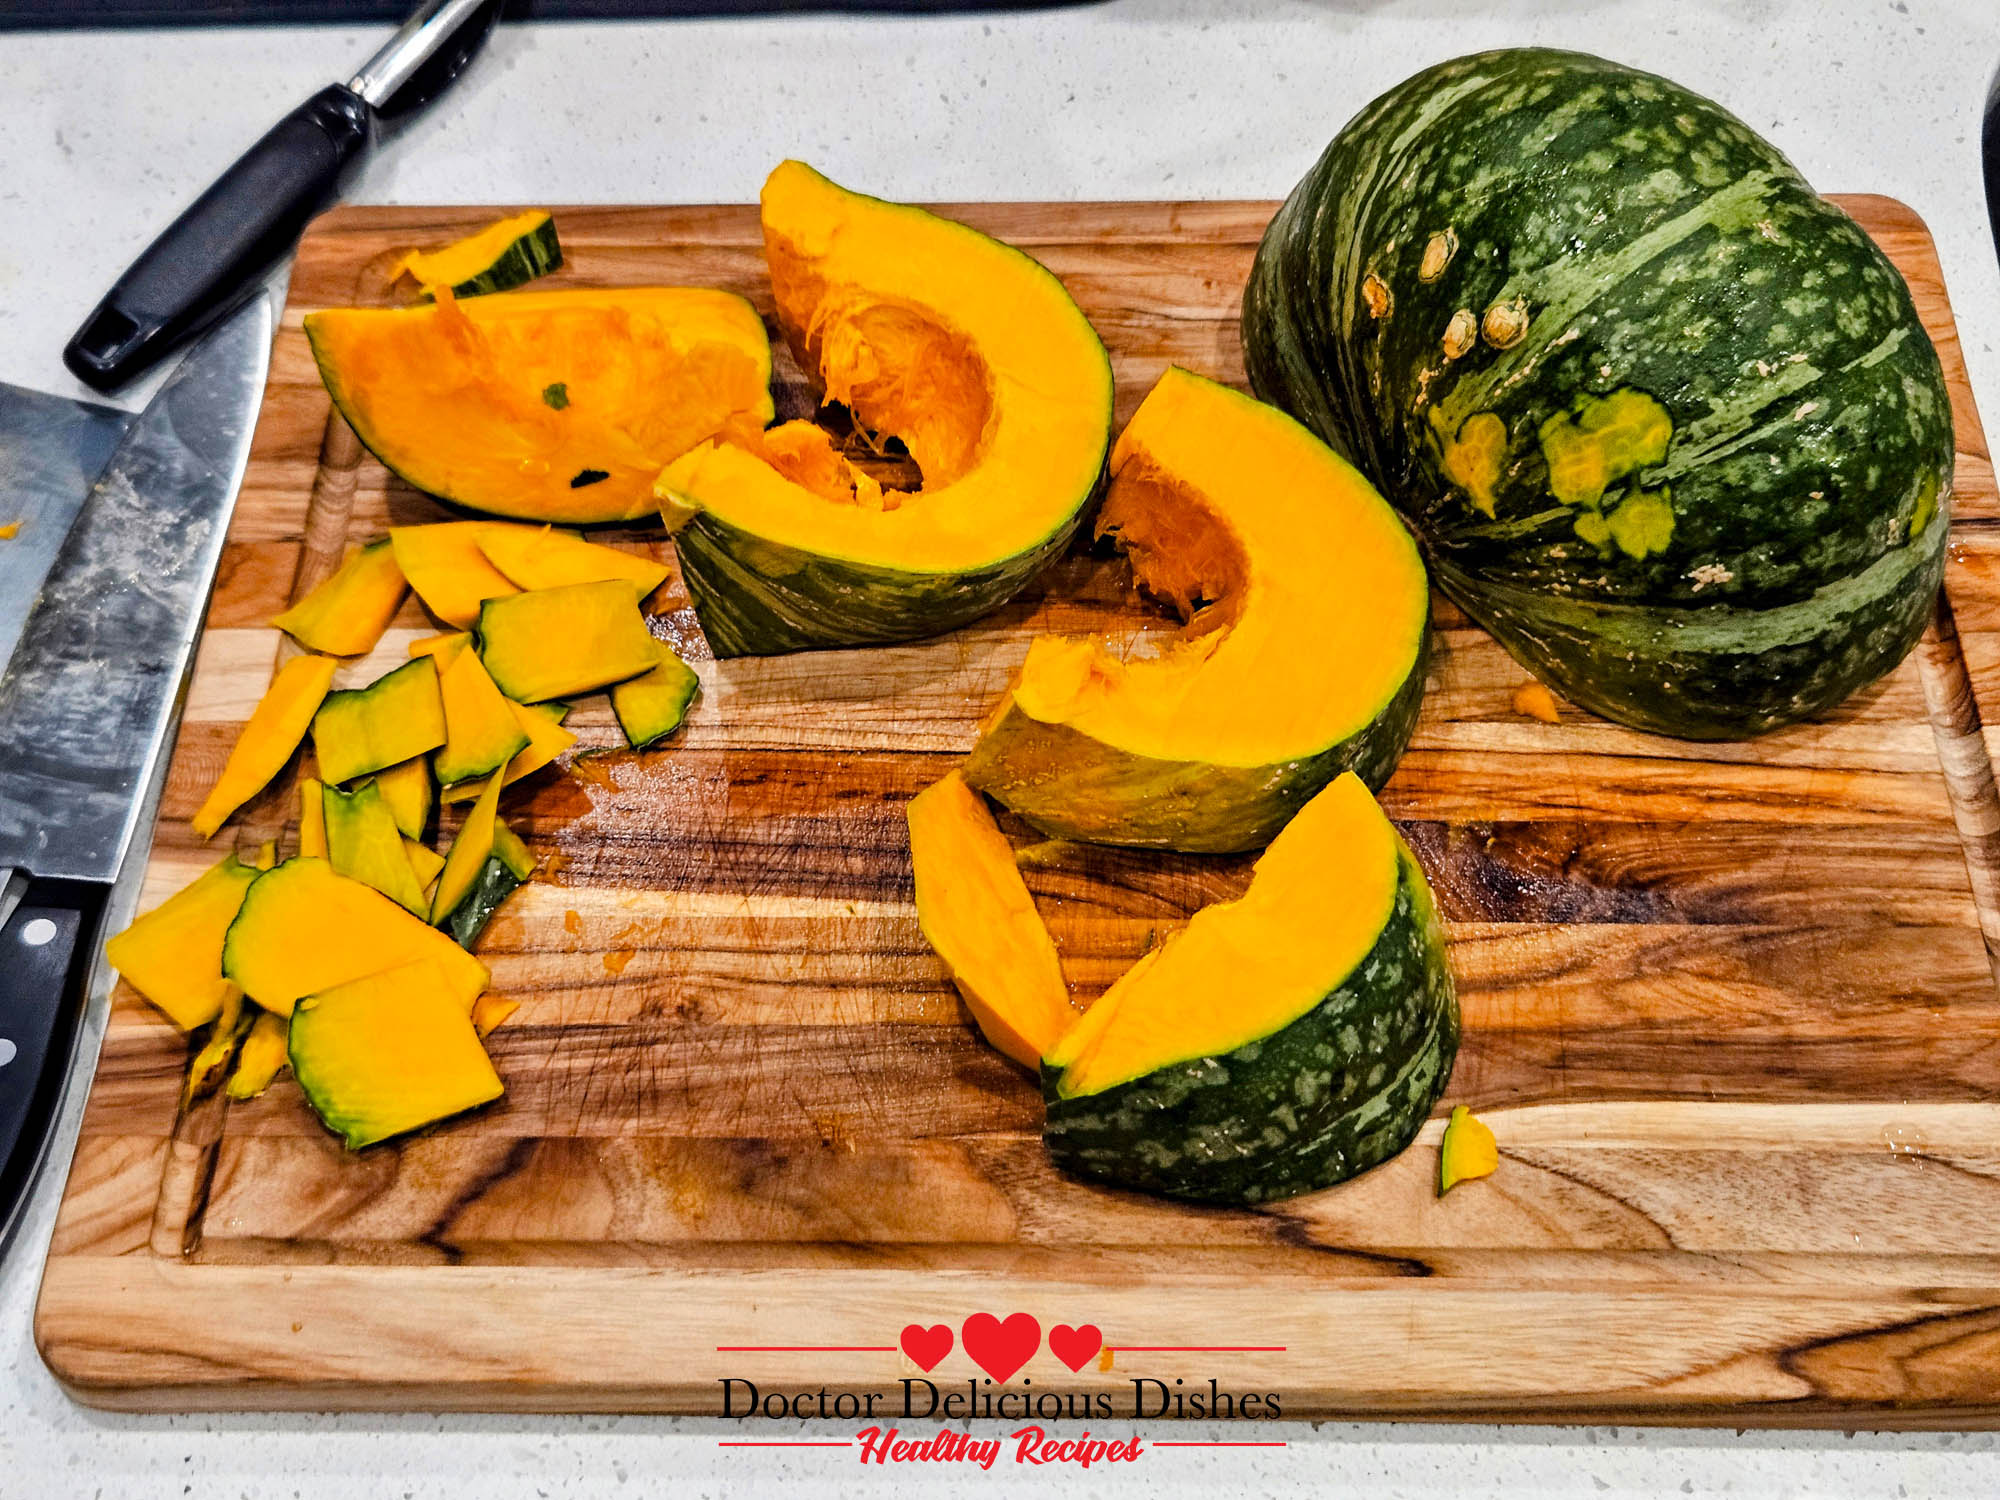
After cutting the Kabocha pumpkin in half and scooping out the seeds, slice the pumpkin into smaller pieces. Carefully slice off the skin from each piece, then microwave the peeled chunks for about 5 minutes until they are tender. -
Blend the Kabocha Pumpkin:
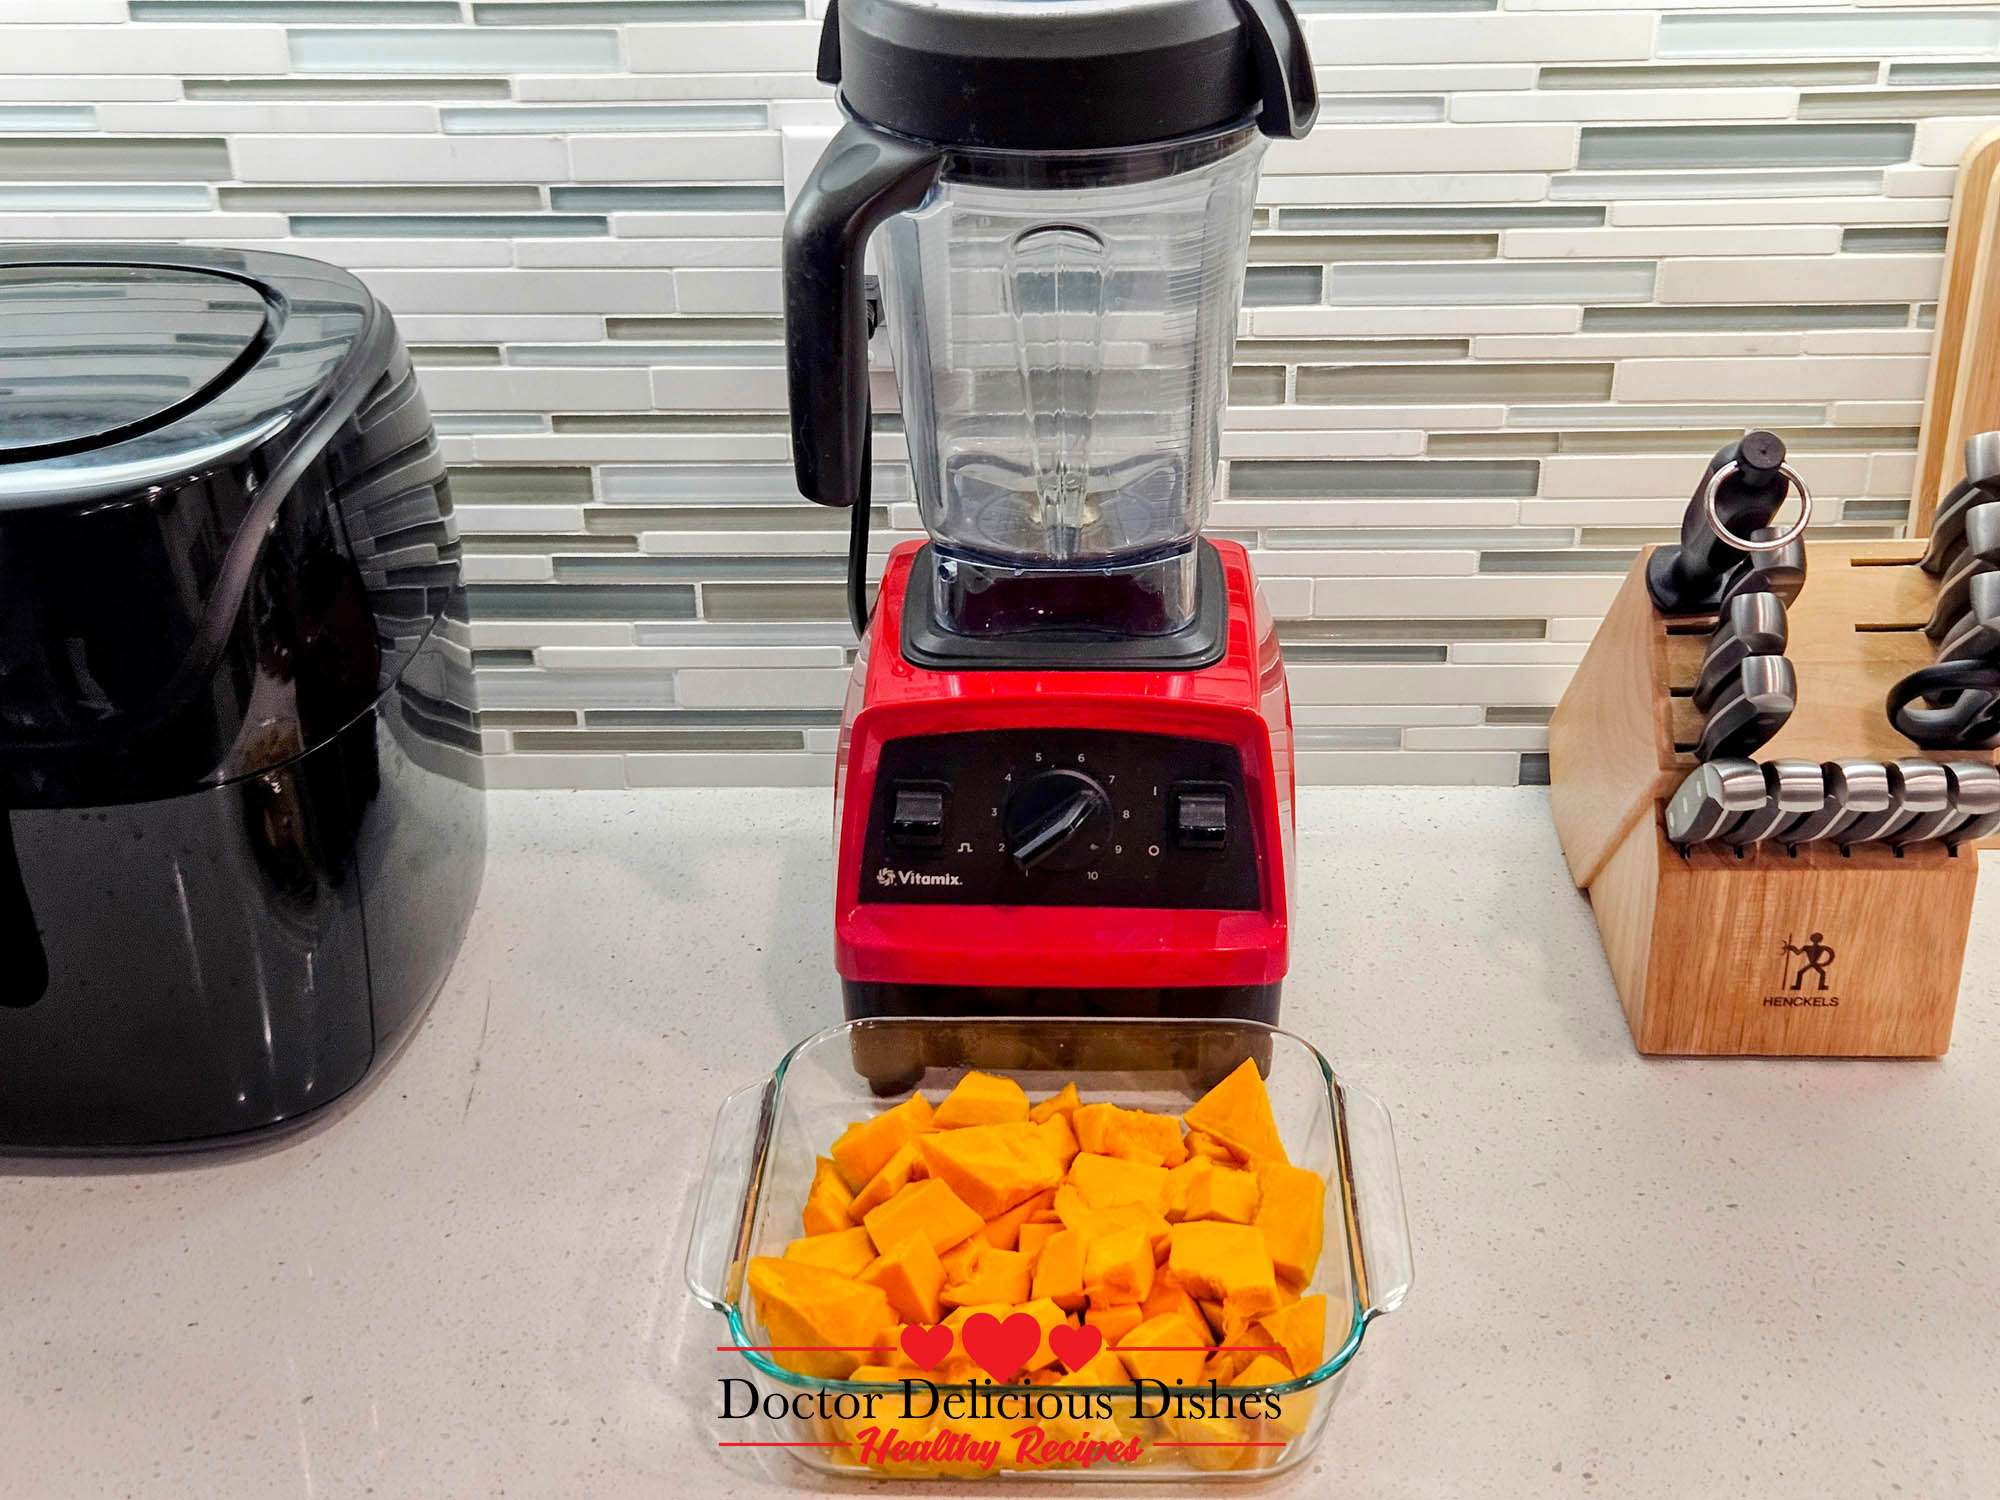
Place the softened Kabocha pumpkin chunks into a blender with 1/4 cup of milk. Blend until the pumpkin reaches a smooth, creamy consistency, free of any lumps. This silky pumpkin puree will serve as the base for your cake batter, adding rich flavor and texture. Pour the blended pumpkin into a bowl and stick in the refrigerator for five minutes to completely cool while you finishing preparing the remaining ingredients. -
Mix the Dry and Wet Ingredients:
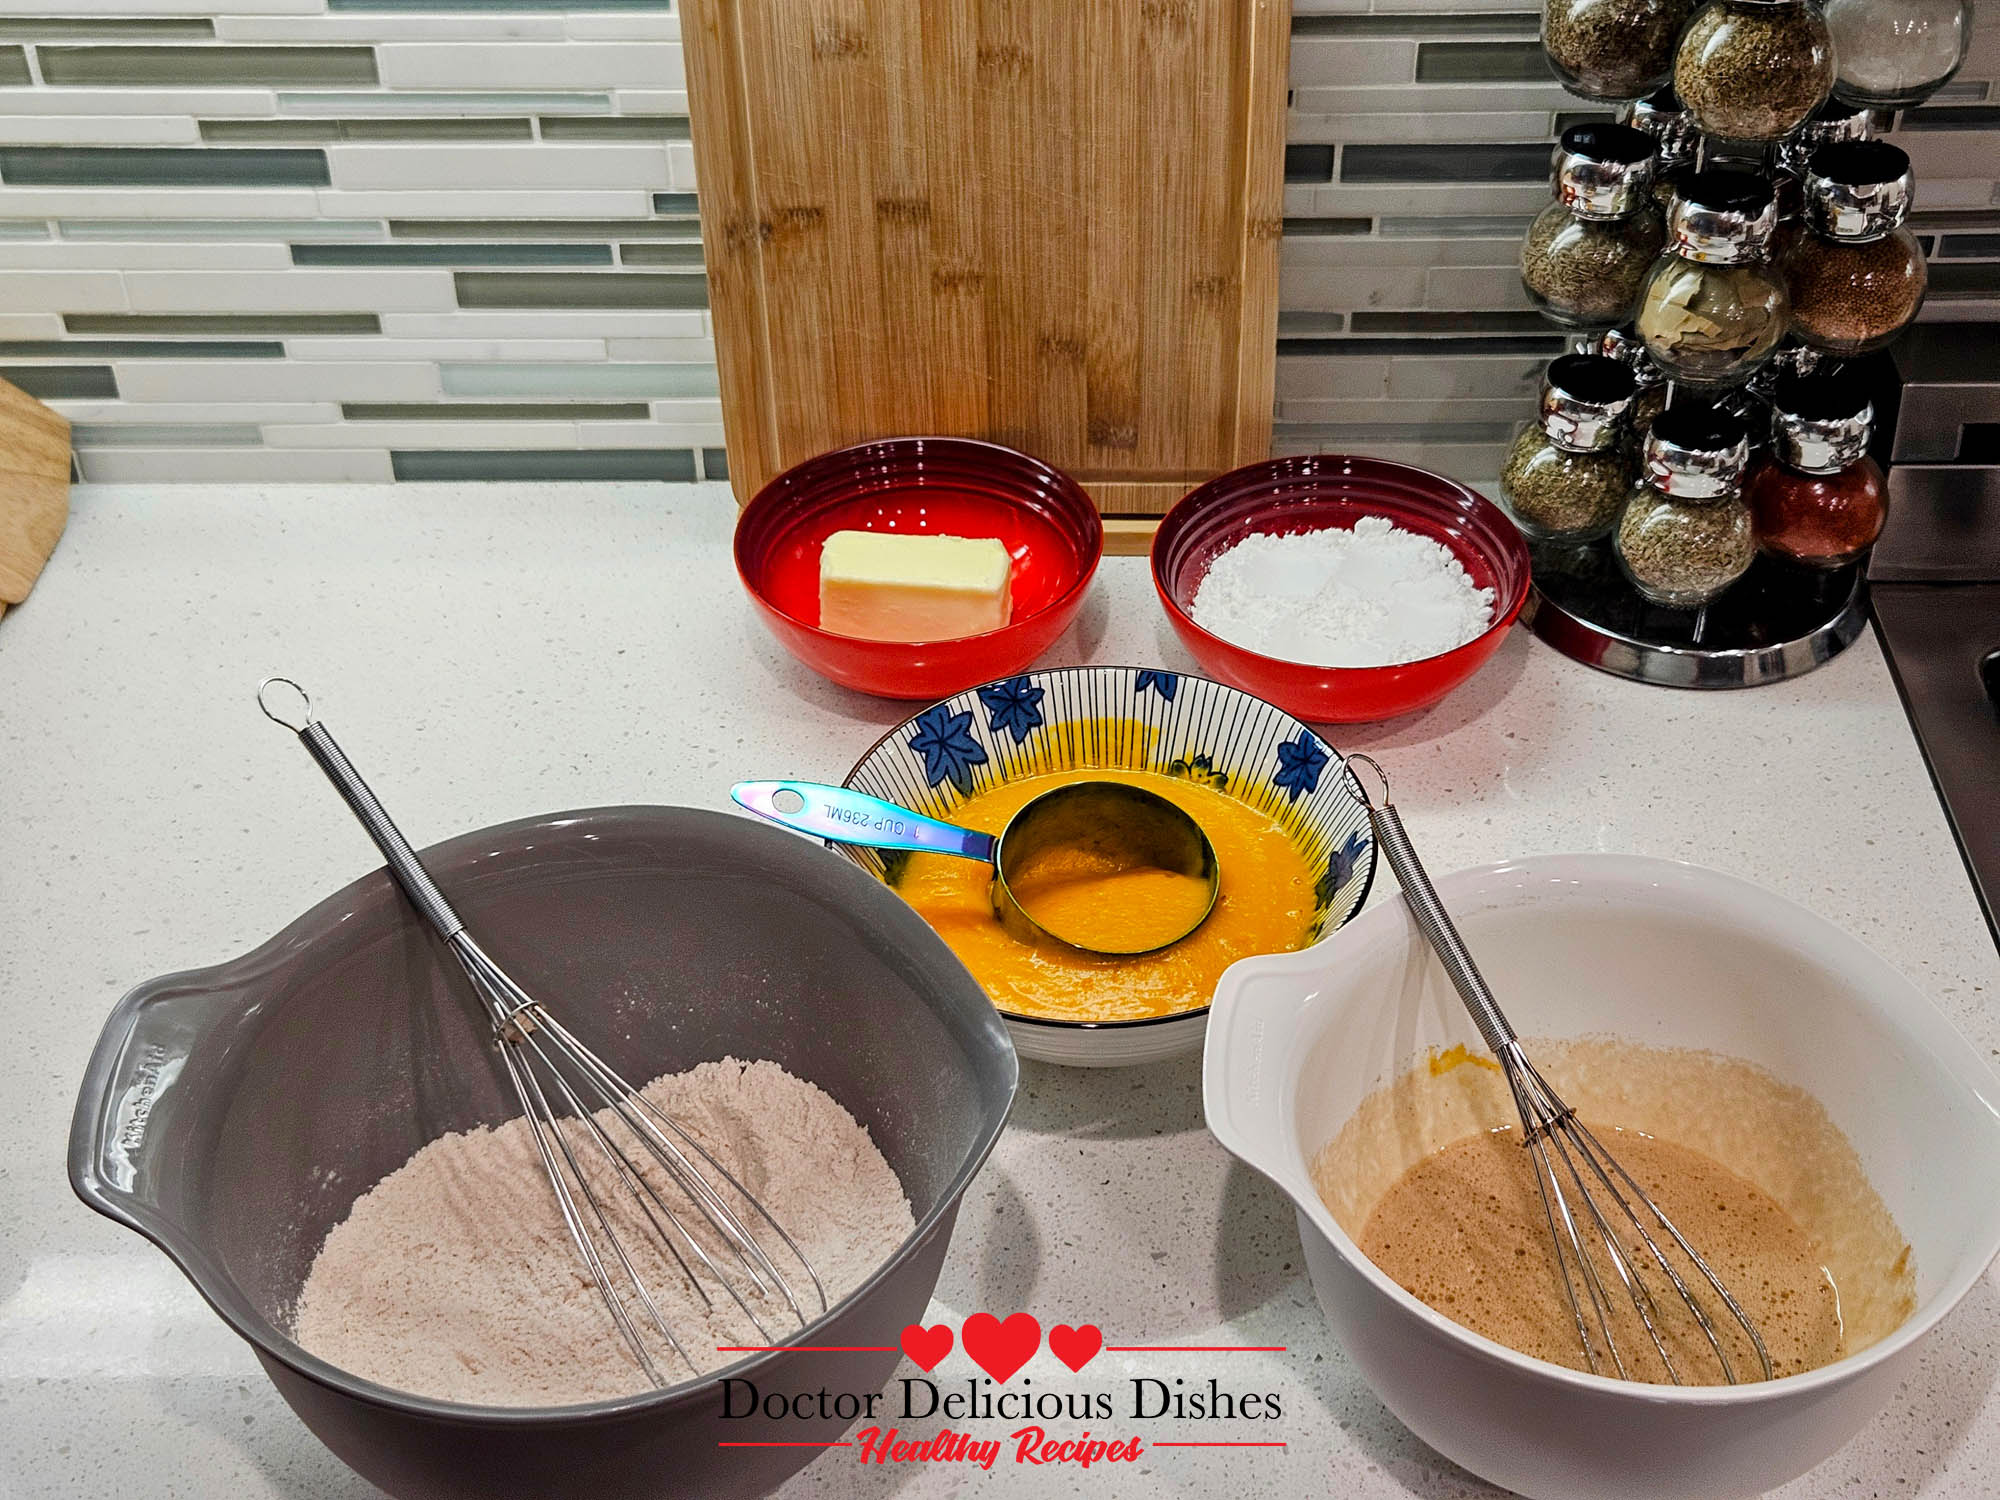
In two separate bowls, whisk together the dry and wet ingredients. In one bowl, combine the flour, baking soda, salt, and cinnamon. In the other bowl, mix the eggs, brown sugar, and vanilla extract. Make sure both mixtures are well combined, as they will come together in the next step to form the cake batter. -
Mix the Wet and Dry Ingredients Together:
Add the blended Kabocha pumpkin and melted butter to the wet mixture and then gradually add the dry ingredients to the wet mixture, whisking gently until the batter is smooth and fully combined. Be careful not to overmix, as this can make the cake dense. The batter should be thick and velvety, ready to be poured into your prepared cake pan. -
Prepare the Cake Pan and Pour the Batter:
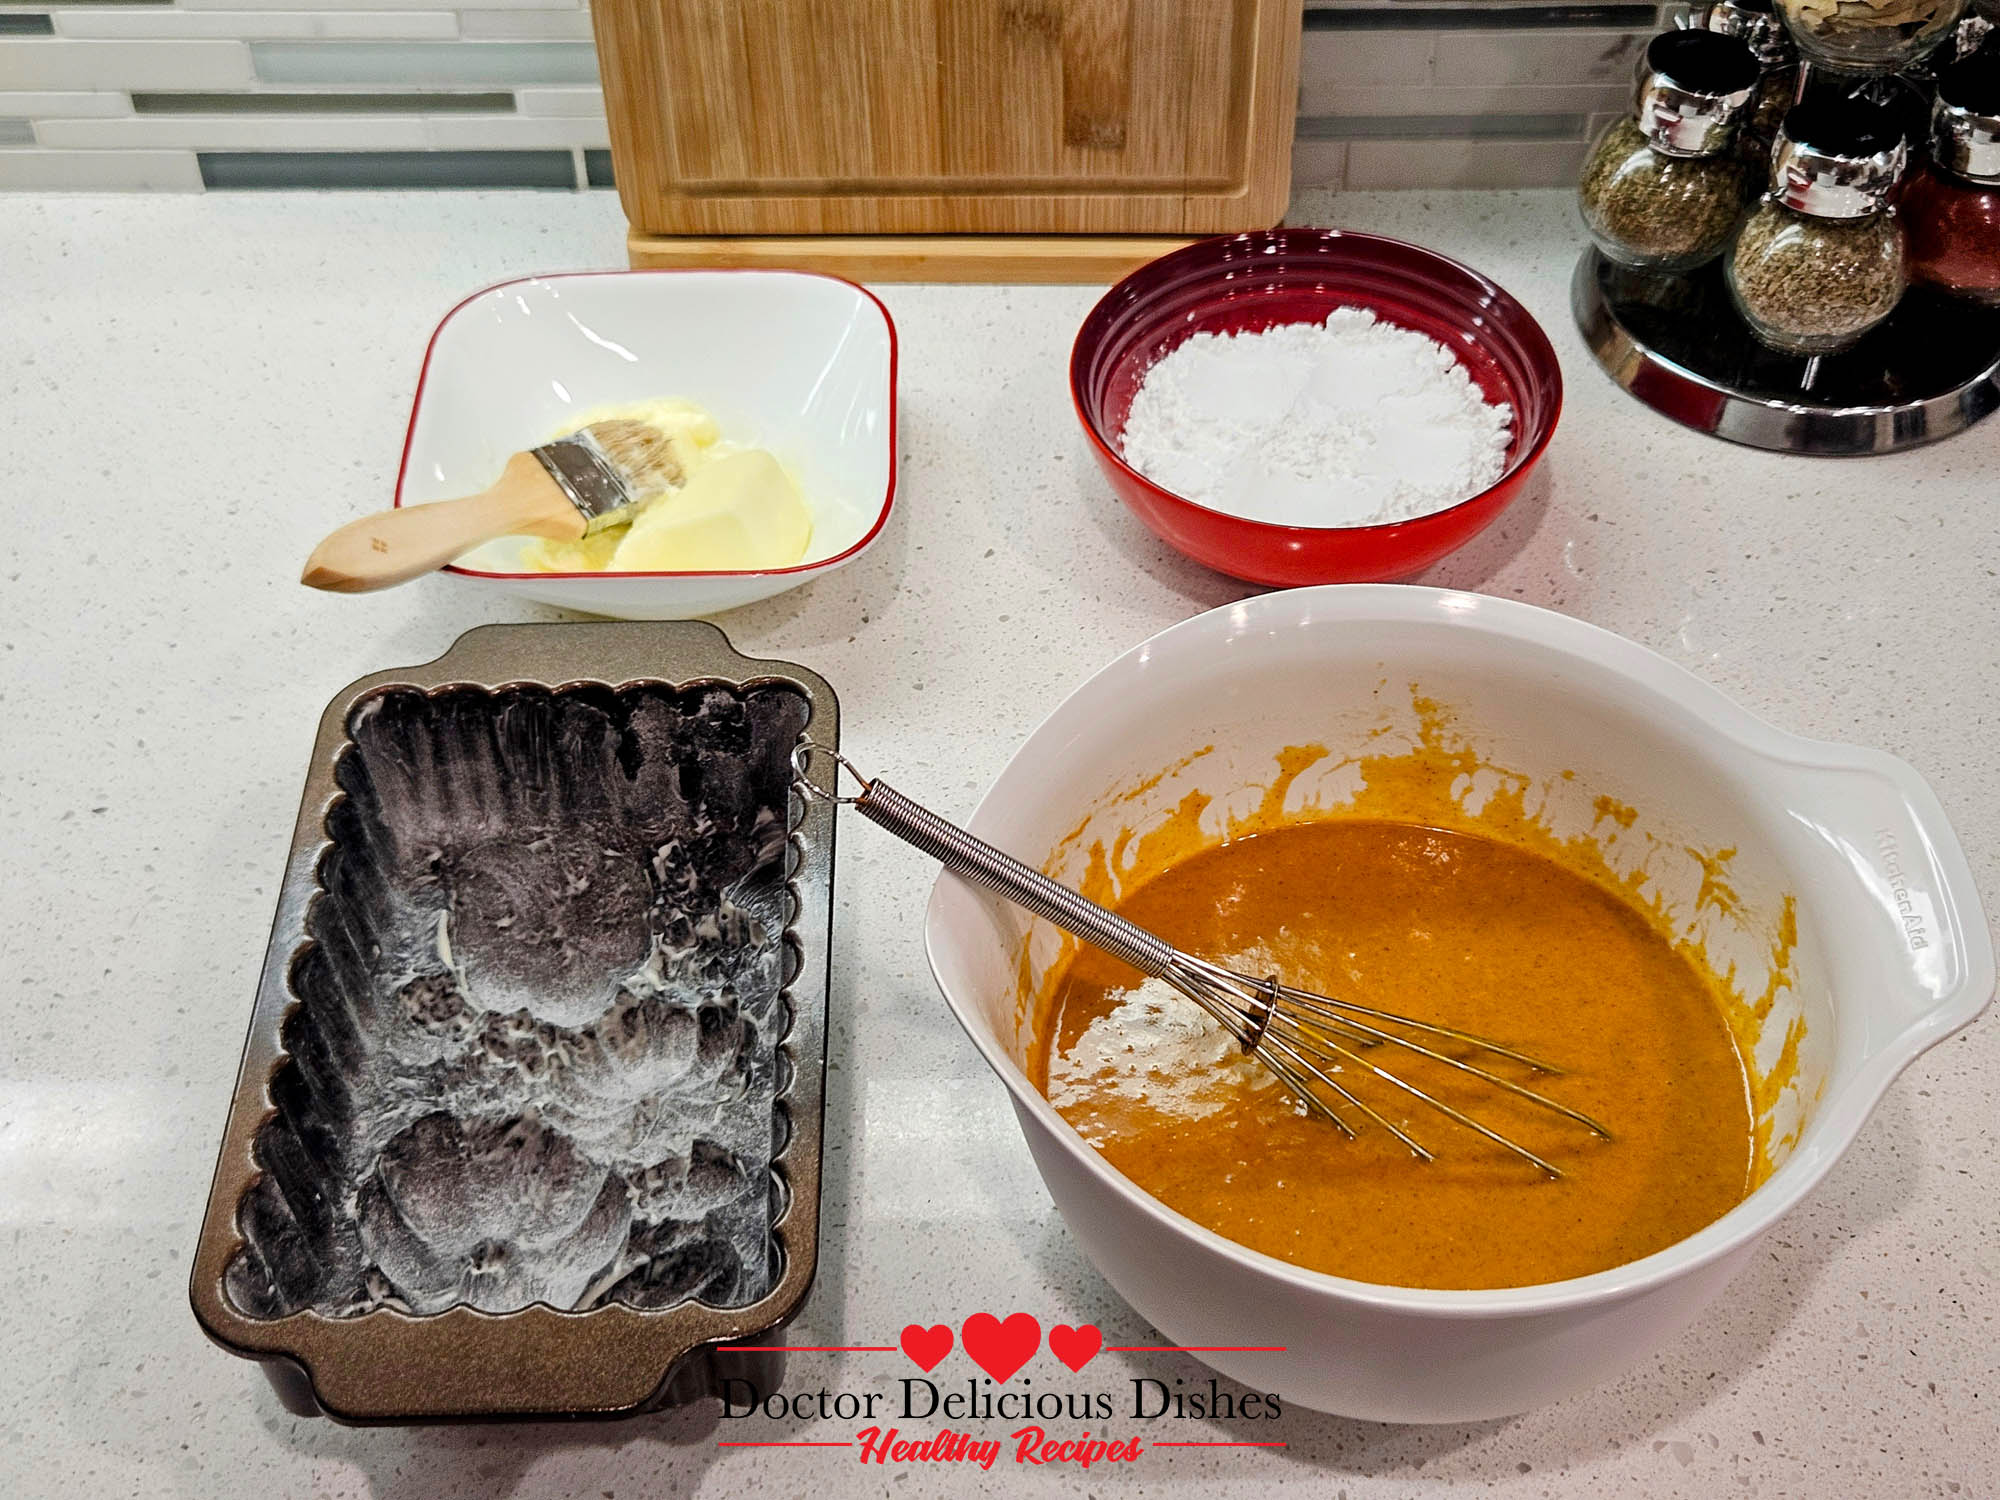
Grease your decorative cake pan or loaf pan with melted butter using a brush, ensuring all the nooks and crannies are coated. Next, dust the pan with a light layer of flour and shake out any excess. This will prevent the cake from sticking and help it release easily once baked. Now, pour the batter into the pan, filling it about 3/4 of the way full. Place the pan in the oven and bake for 55-60 minutes, or until a toothpick inserted into the center comes out clean. -
Cool and Plate the Cake:
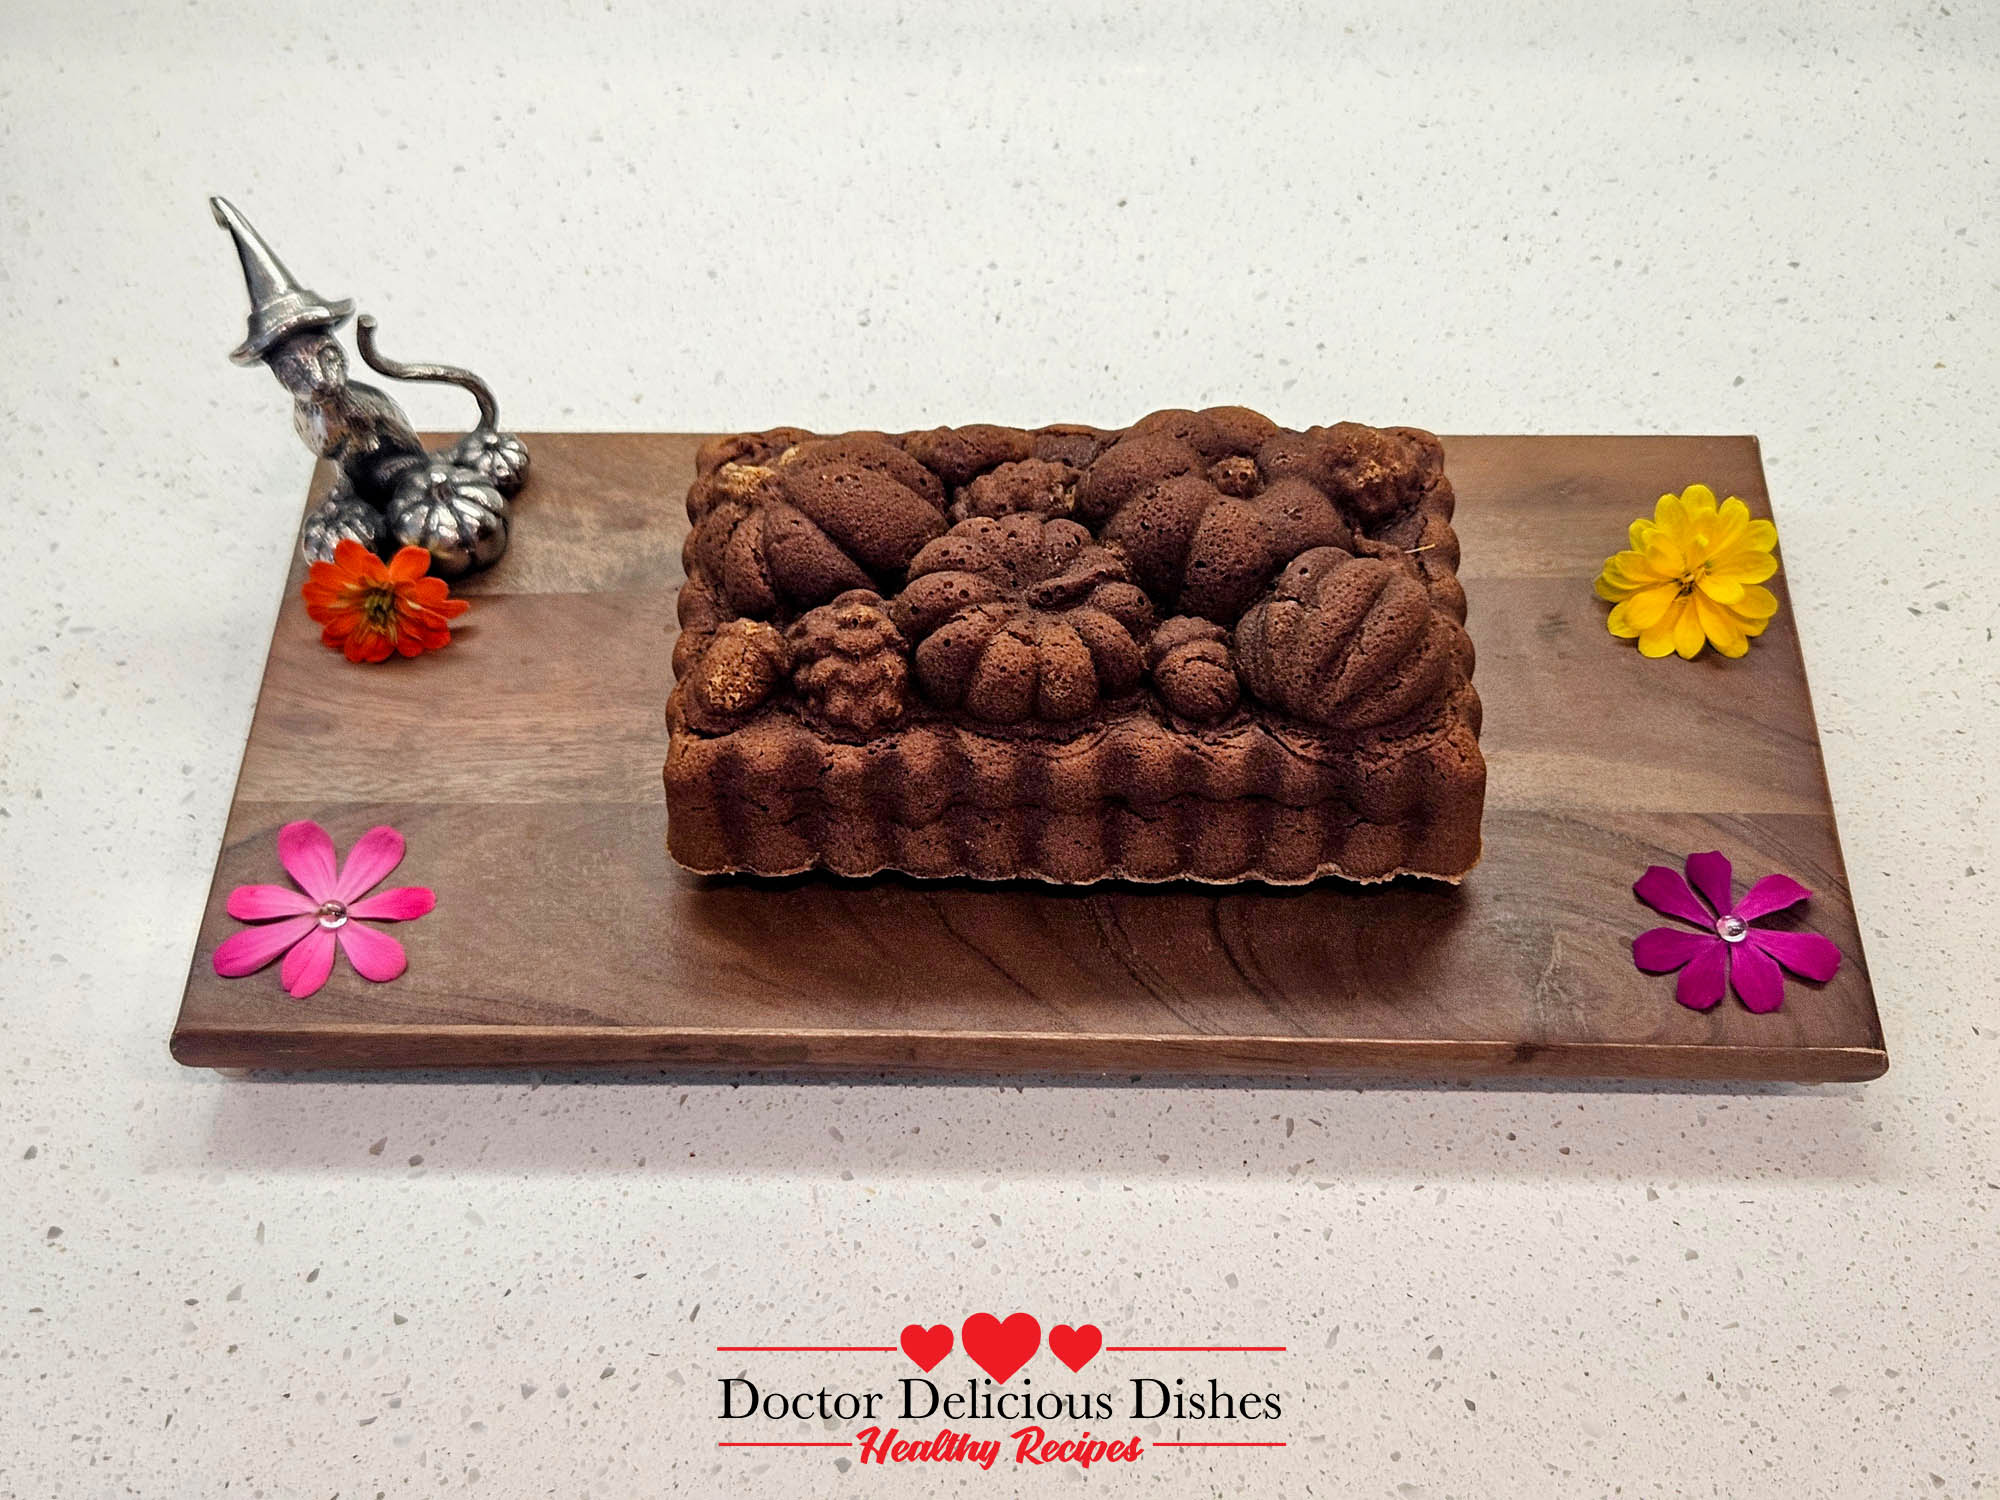
Once the cake is done baking, remove it from the oven and allow it to cool in the pan for about 10 minutes. This helps the cake set and makes it easier to release from the pan. After 10 minutes, carefully turn the cake out onto a serving platter. Plate it nicely, adding a few decorative touches if desired, and your beautifully shaped Kabocha Pumpkin Cake is ready to serve! -
Optional Step: Add a Sweet Glaze
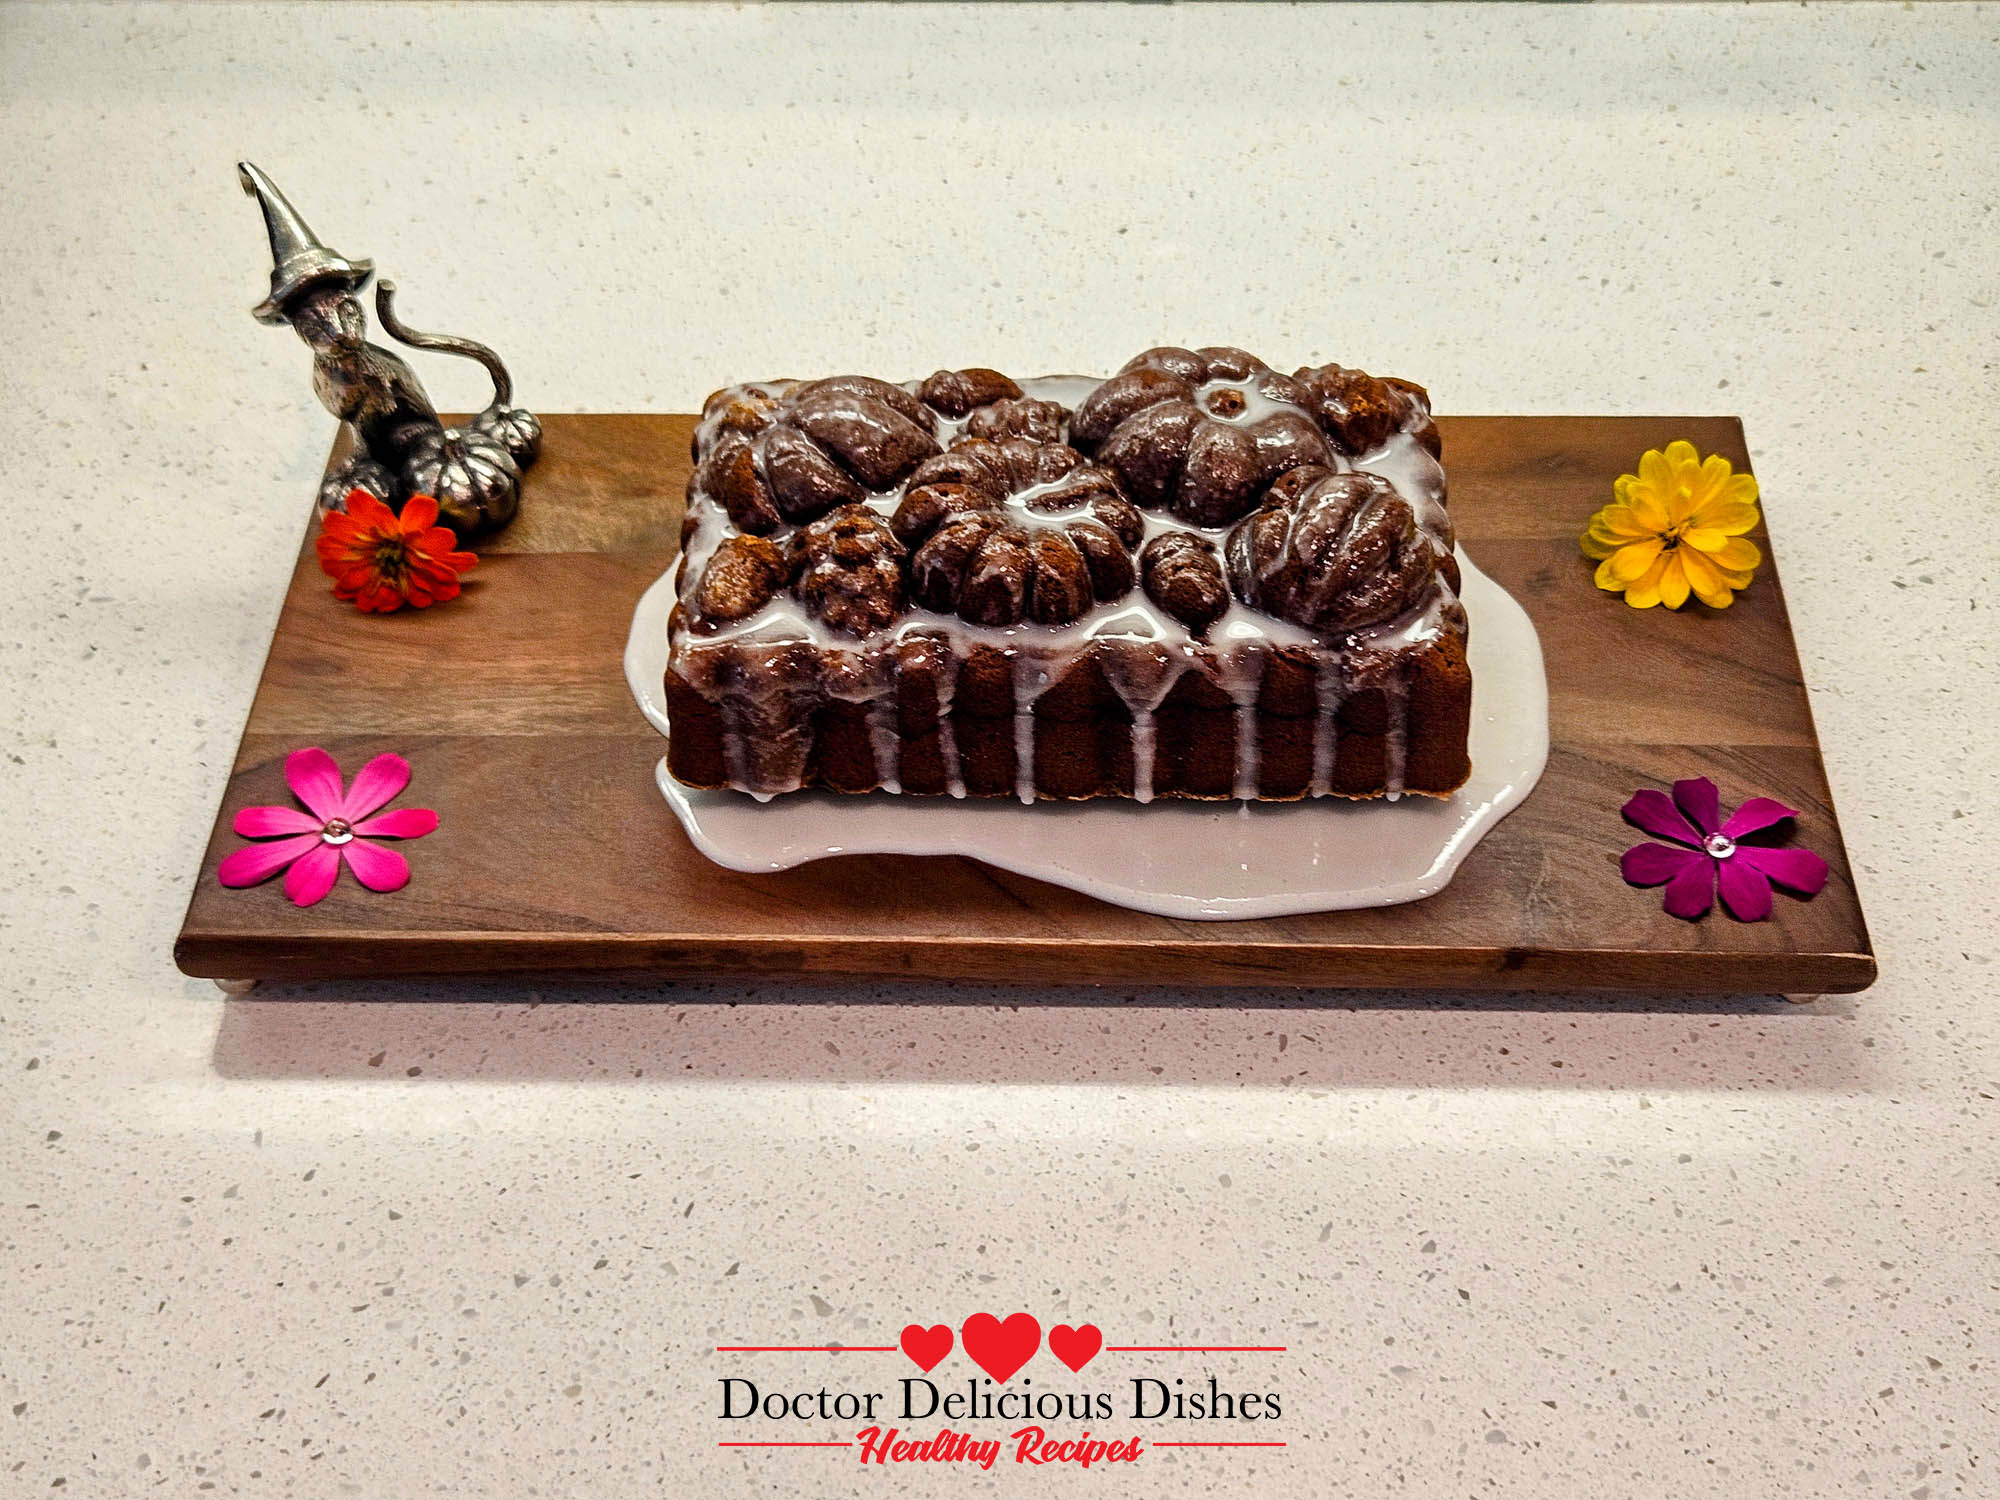
For an extra touch of sweetness, mix 1 cup of confectioners’ sugar (powdered sugar) with 2 tablespoons of milk or water. Stir well until you get a smooth, pourable glaze. Drizzle the glaze over the cooled cake, allowing it to settle into the beautiful crevices of the cake design. This adds a lovely, sweet finish to your Kabocha Pumpkin Cake, perfect for those who enjoy a little extra indulgence. -
Tips:
- Storage: Store the cake in an airtight container at room temperature for up to 3 days or in the fridge for up to a week.
- Kabocha Pumpkin: This Japanese pumpkin is slightly sweeter and creamier than traditional pumpkins, giving the cake a naturally rich flavor.
- Substitutions: If you don’t have Kabocha, you can substitute with canned pumpkin puree or butternut squash.
Nutrition Facts
Servings 12
- Amount Per Serving
- Calories 198kcal
- % Daily Value *
- Total Fat 8.7g14%
- Saturated Fat 5.2g26%
- Cholesterol 52mg18%
- Sodium 251mg11%
- Potassium 83mg3%
- Total Carbohydrate 29.6g10%
- Dietary Fiber 0.27g2%
- Sugars 28.8g
- Protein 1.5g3%
- Vitamin A 893 IU
- Vitamin C 1.1 mg
- Calcium 22.5 mg
- Iron 0.31 mg
* Percent Daily Values are based on a 2,000 calorie diet. Your daily value may be higher or lower depending on your calorie needs.
Note
Nutrition Disclaimer:
The nutritional information on this website is only an estimate and is provided for convenience and as a courtesy only. The accuracy of the nutritional information for any recipe on this site is not guaranteed. It should not be used as a substitute for a professional nutritionist’s advice.


